So last week, I decided to write on why you should use the ListAdapter in your RecylerViews in Android. After all, what is an android application without some kind of list? You can check out the article here . Today, I am going to take it a step further and explore how to combine DataBinding with the RecyclerView in order to reduce some annoying boilerplate code.
So what is DataBinding?
According to the official documentation:
The Data Binding Library is a support library that allows you to bind UI components in your layouts to data sources in your app using a declarative format rather than programmatically.
To most, this simply means that you do not have to make those annoying findViewByID() calls. While that may be true, eliminating those calls is not the sole purpose of the powerful library. In fact, the Google Developer team states that:
In many cases, view binding can provide the same benefits as data binding with simpler implementation and better performance. If you are using data binding primarily to replace findViewById() calls, consider using view binding instead.
So how do you bind the views?

With your RecyclerView adapter already setup, you have to enable data binding first in your build.gradle file. You do that as follows:
dataBinding {
    enabled = true
}
Once you sync the project, go ahead and enable data binding in your item layout.
Pro tip: To quickly add data binding to any layout, just press alt + enter on windows on the parent ViewGroup of your layout and select “convert to data binding layout”
Once you do that, go ahead and a data tag inside the pojo item xml file. If you used the above shortcut, this tag is added automatically. Within that tag, declare a variable of type Pojo. This will look as follows:
<data>

    <variable
        name="pojo"
        type="com.example.databindingrv.Pojo" />
</data>
With the pojo variable in place, it is time to extract its attributes and show them on your item. Extracting this data, in the case of text, is as simple as”
android:text="@{pojo.name}"
Your adapter, the ViewHolder in particular, will look much different now. In my case, I called my item layout pojo_item.xml. Keep that name in mind as you take a look at the following
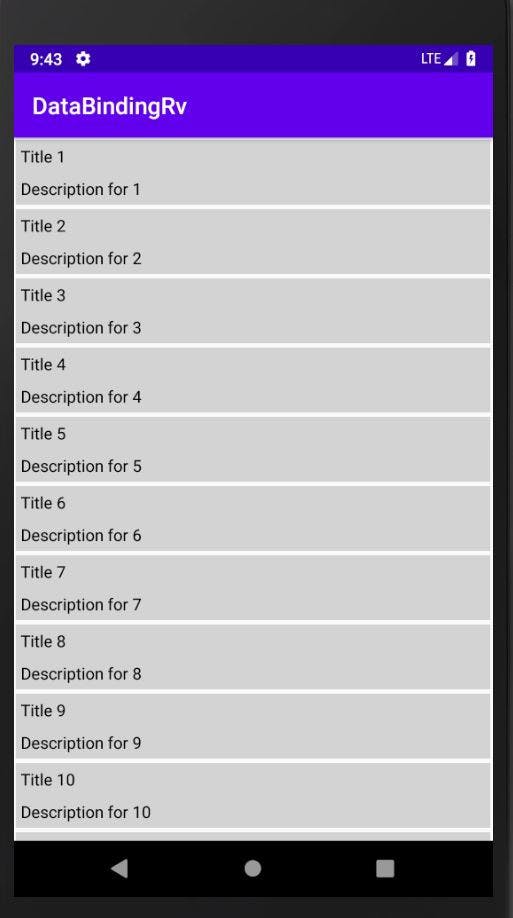
Notice that the constructor of the ViewHolder now uses a variable of type PojoItemBinding. (Remember my layout name?) The binding is automatically generated depending on the name of your layout and the word Binding is added at the end. Note that the bind method now sets the pojo variable in your xml to the item you will get from your adapter. The companion object inflating the item layout also has similar changes to reflect the binding. If you run my sample, you will have the following layout.

That’s it!
With that, you now know how to use DataBinding with a ReyclerView adapter. Even better, you are now using it using the ListAdapter. For the full code used in this sample, check out the following repo on GitHub
PS; Let us connect on Twitter , GitHub , and Linkedin . You can follow me on Hashnode as well and let us build awesome things together.

